
In the realm of web design, visuals play a pivotal role. Images capture attention, communicate information, and contribute to the overall user experience. However, in the complex digital landscape, optimizing images for different devices and layouts can be challenging. Fortunately, Drupal, a robust content management system, offers a powerful feature to tackle this issue - Image Styles. This blog post explores how to leverage Image Styles within Views in Drupal to effortlessly manage and enhance image displays on your website.
What Are Image Styles?
Image Styles in Drupal are pre-defined sets of image manipulations that can be applied to images when they are displayed on your site. These manipulations include resizing, cropping, scaling, and applying various effects. They are immensely helpful for ensuring images are visually consistent, load efficiently, and adapt to different screen sizes.
Step 1: Create an Image Style
Before diving into Views, the first step is to create an Image Style:
- Go to "Admin > Configuration > Media > Image Styles."
- Click "Add Image Style" to create a new style.
- Provide a name and description for your style. This will make it easier to identify the style's purpose.
Define the desired effects for your Image Style. This could include scaling, cropping, and any other manipulation that suits your use case.
Step 2: Create a View
Views is a powerful Drupal module that allows you to create customized lists, grids, or carousels of content. Before applying Image Styles, you'll need to create a View:
Navigate to "Structure" and then "Views" in your Drupal admin.
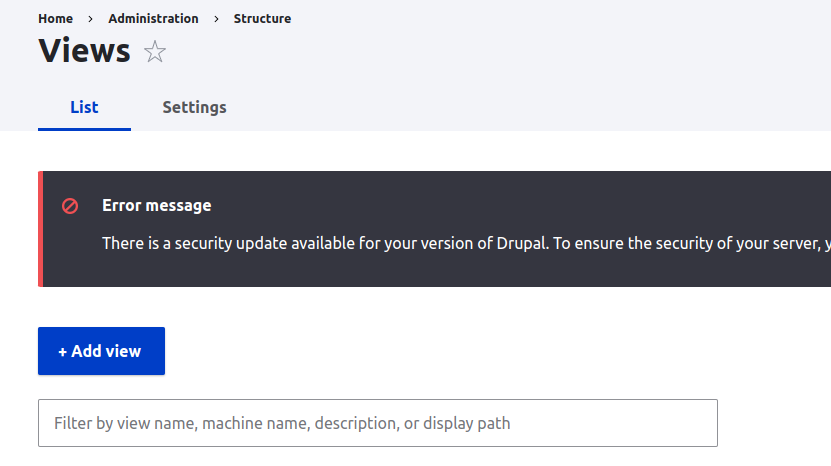
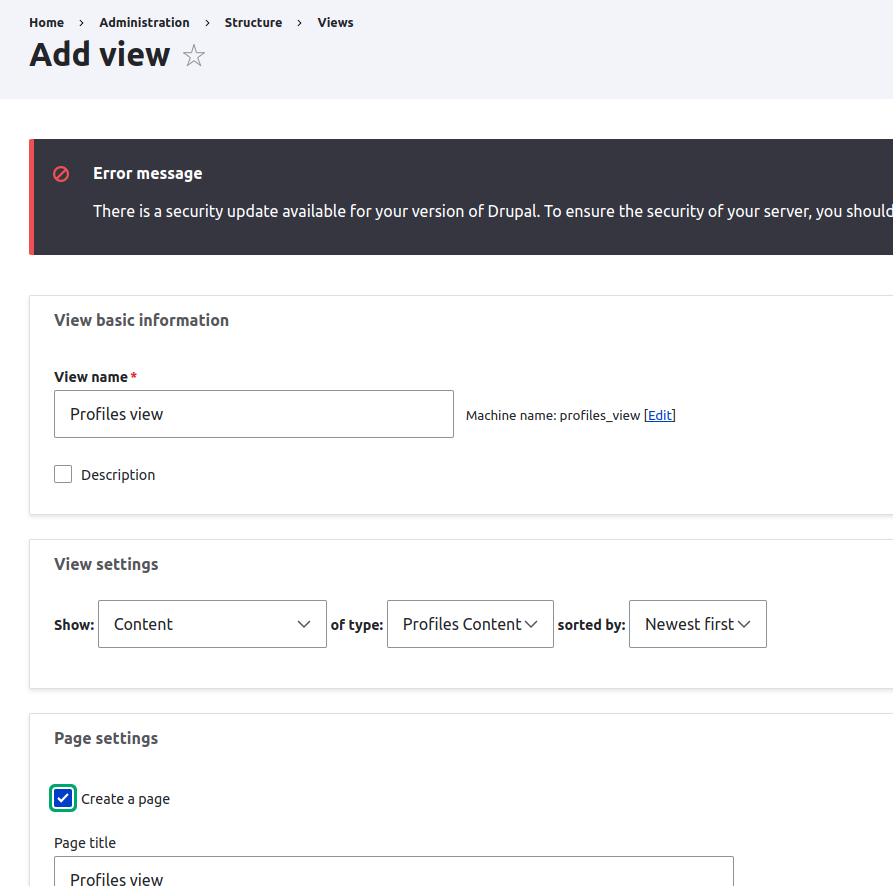
- Click "Add View" to create a new View, or select an existing one for editing.
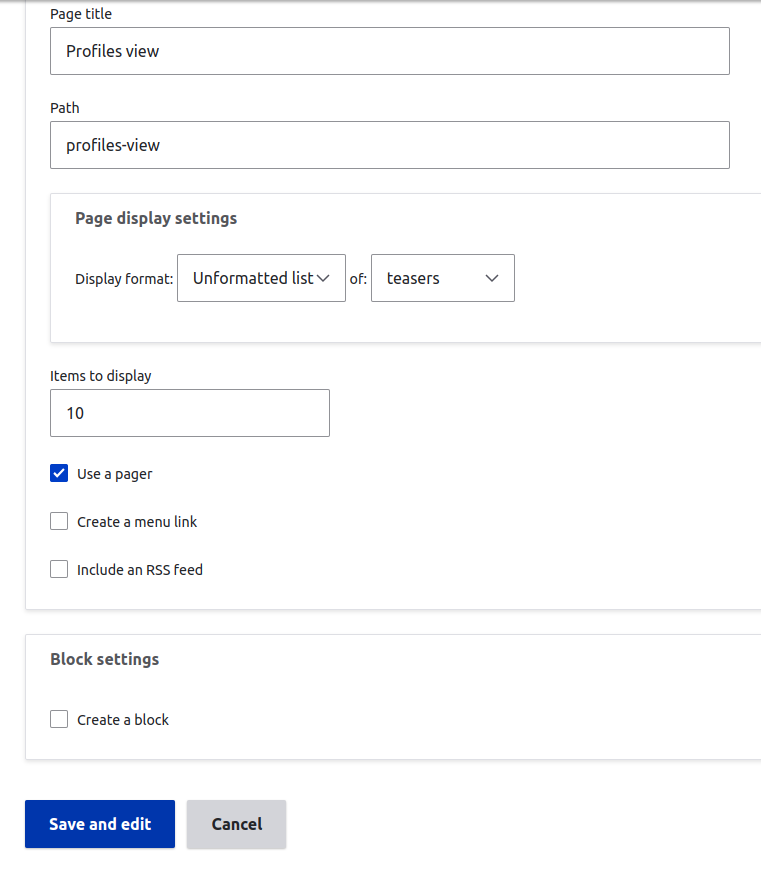
Configure your View by selecting the content type and adjusting settings to display the content you desire.
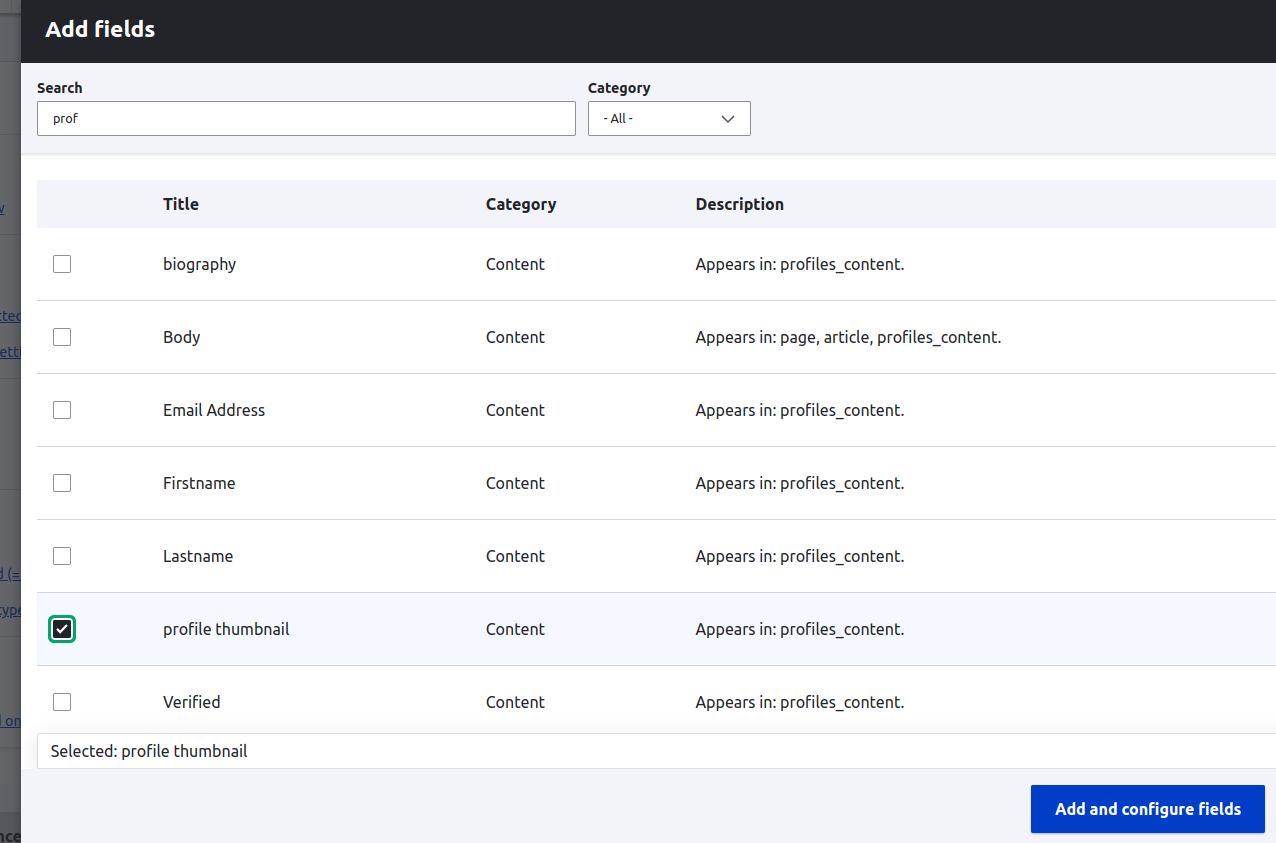
Add a field to your View that will display images. Usually, you'll add the "Content: Image" field if your content type includes an image field.
Step 3: Apply the Image Style in Views
To apply the Image Style in your View:
- In the View's field settings, locate the field that displays the image (e.g., "Content: Image").
Inside the field settings, you'll find an option called "Image Style." Click the dropdown list and select the Image Style you want to apply. In our example, we're choosing "Thumbnail."
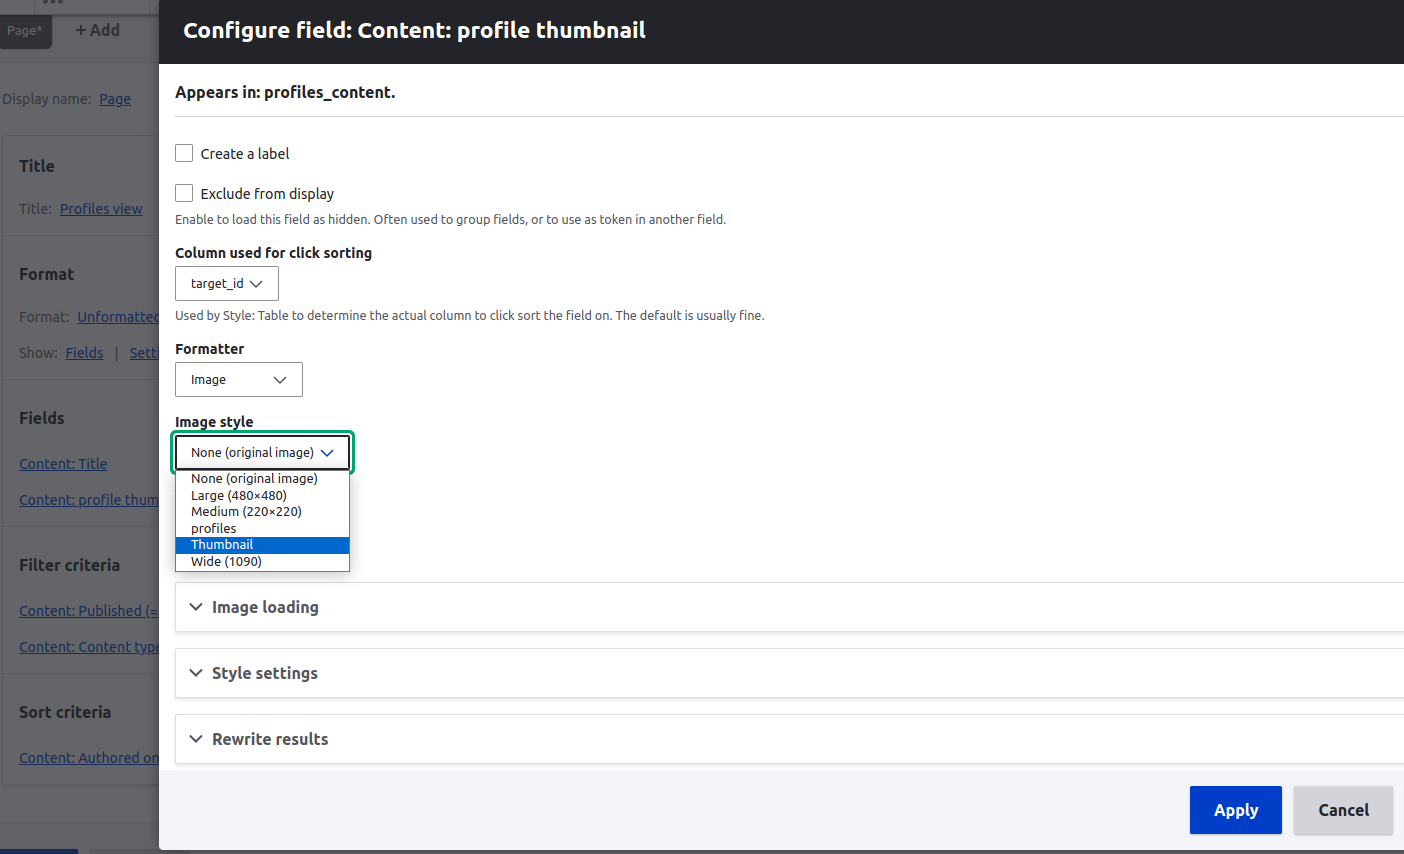
- Save your View, and you're all set!
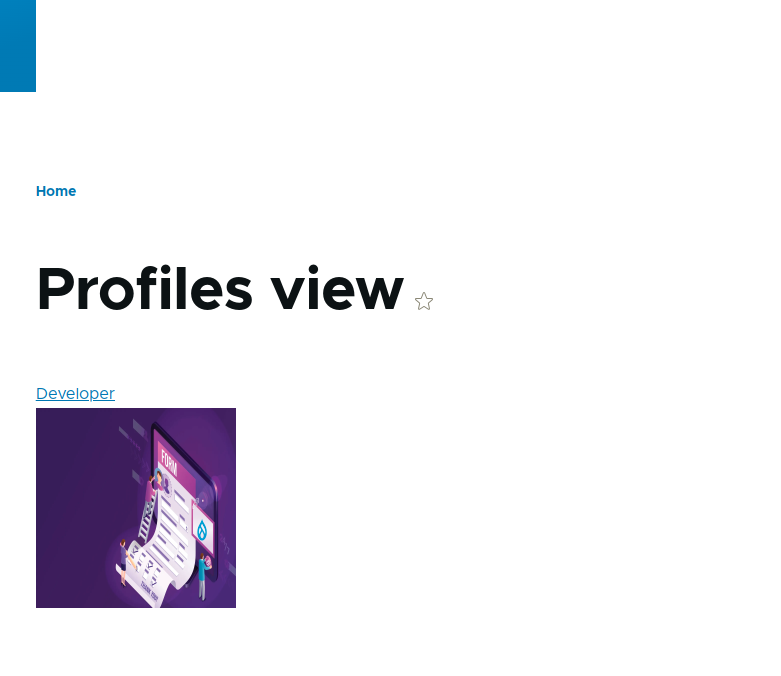
Now, the images displayed in your View will be processed with the selected Image Style, making sure they meet the specified dimensions and visual requirements.
Conclusion:
Image Styles in Views are your secret weapon for effortlessly managing and enhancing image displays in Drupal. These pre-defined image manipulations offer consistency, improved performance, and the ability to adapt to various screen sizes. Whether you're creating a stunning image gallery, showcasing featured content, or displaying product images, Image Styles provide an efficient way to optimize image display settings.
In a world where visuals matter more than ever, Drupal's Image Styles in Views empower you to provide an engaging and visually appealing user experience. So, go ahead and unlock the potential of your website's images with Image Styles in Views!
Further Reading:
Add new comment